
Develop & RAW
Open camera RAW files in your browser and develop them like in Lightroom, with white balance, exposure, tone curve and HSL.
Develop is koi.photo's photo-development workspace, like Lightroom's Develop module or Affinity Photo's Develop Persona. Open a camera RAW file (DNG, CR3, CR2, NEF, ARW, RAF, ORF, RW2 and more) and it decodes in your browser into a 16-bit document, then opens straight in Develop. You can also develop any photo layer. Nothing is uploaded.
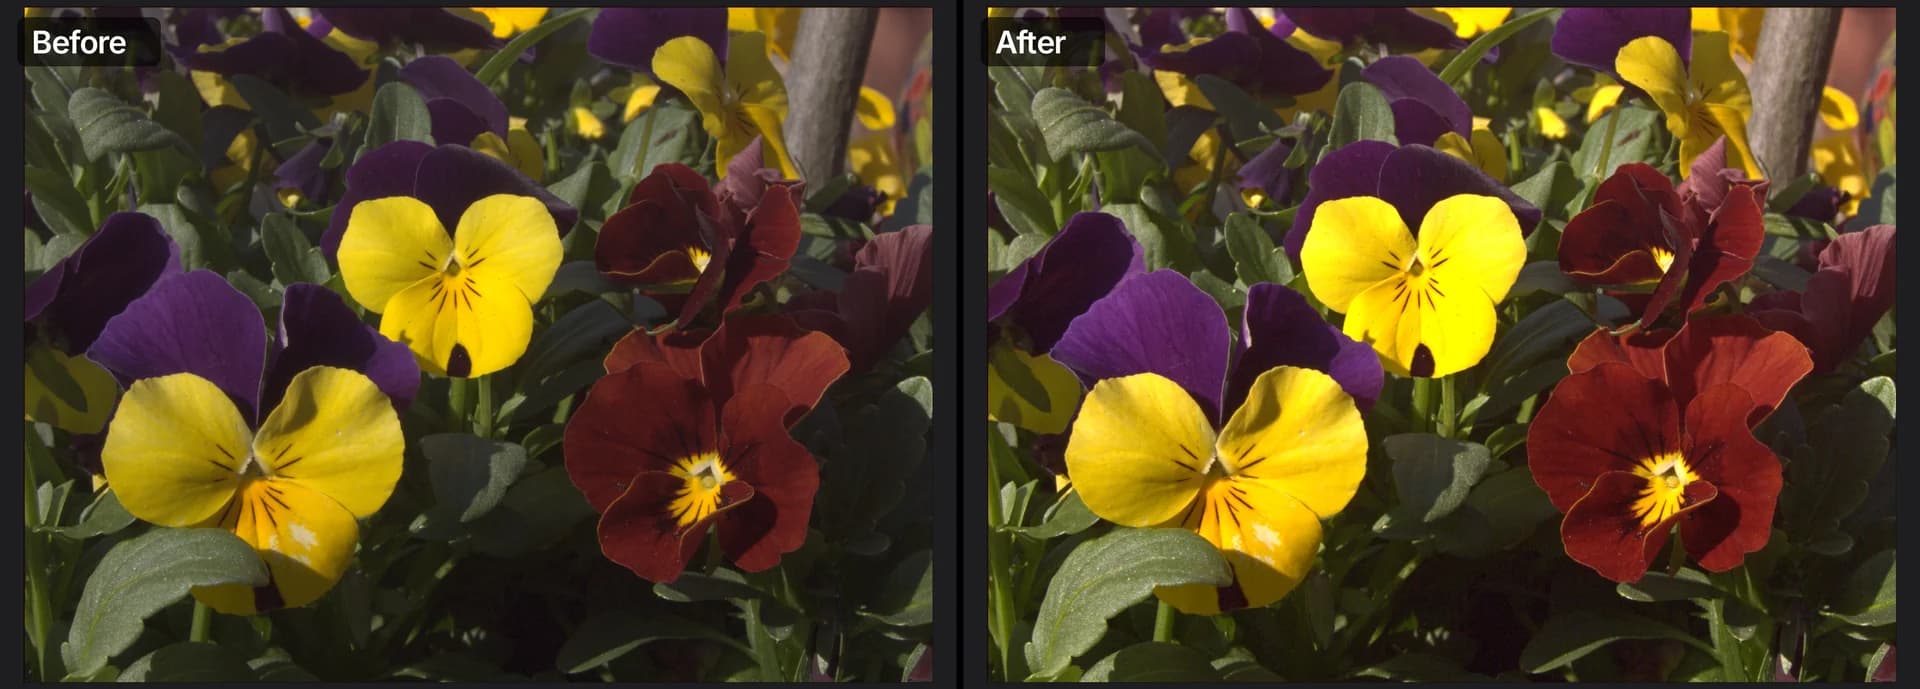
Edit a RAW photo
Open the RAW file
Drag the file onto koi.photo, or use File ▸ Open…. The first RAW you open downloads the decoder (about 1 MB, once; the installed app keeps it for offline use). A progress message shows while the file decodes.
koi.photo applies your camera's white balance and colour profile and opens the photo as a 16-bit document, so strong edits stay smooth. Then Develop opens on its own.
Adjust in the Develop panel
The Develop panel replaces the panels on the right. On top are a live histogram, Before / After and a few presets (Natural, Vivid, Matte, Black & White, Warm, Cool). Below them are the sections, in the order you usually work:
- Basic: Temperature and Tint (or click the eyedropper, then something that should be neutral grey), Exposure, Contrast, Highlights, Shadows, Whites, Blacks, Clarity, Vibrance and Saturation. Auto sets white balance and exposure from the photo.
- Tone Curve: a curve for the whole image or for red, green and blue.
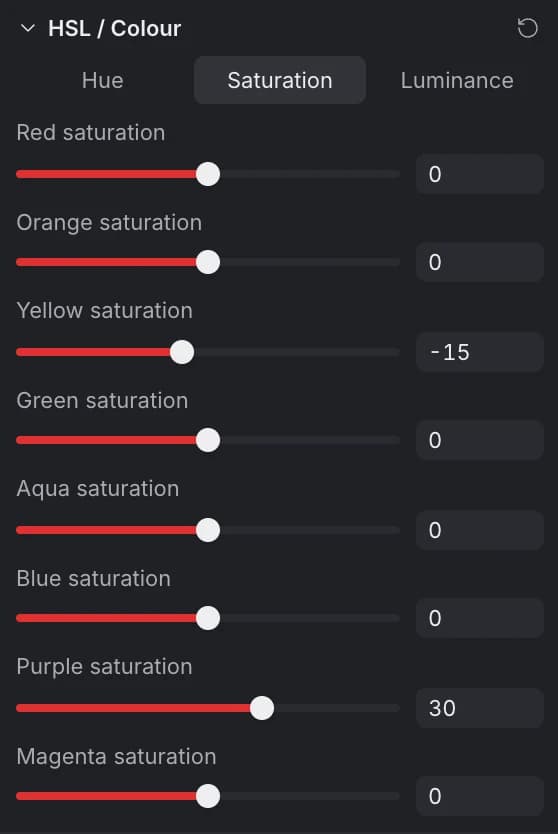
- HSL / Colour: hue, saturation and luminance of eight colour ranges, from red to magenta.
- Detail: Sharpening with its Radius, Noise reduction and Colour noise reduction.
- Lens: Vignette and its Midpoint.
Every change shows on the photo while you drag. Double-click a slider to reset it, or use the reset button in a section header. ⌥-click (Alt-click) a header to show only that section.
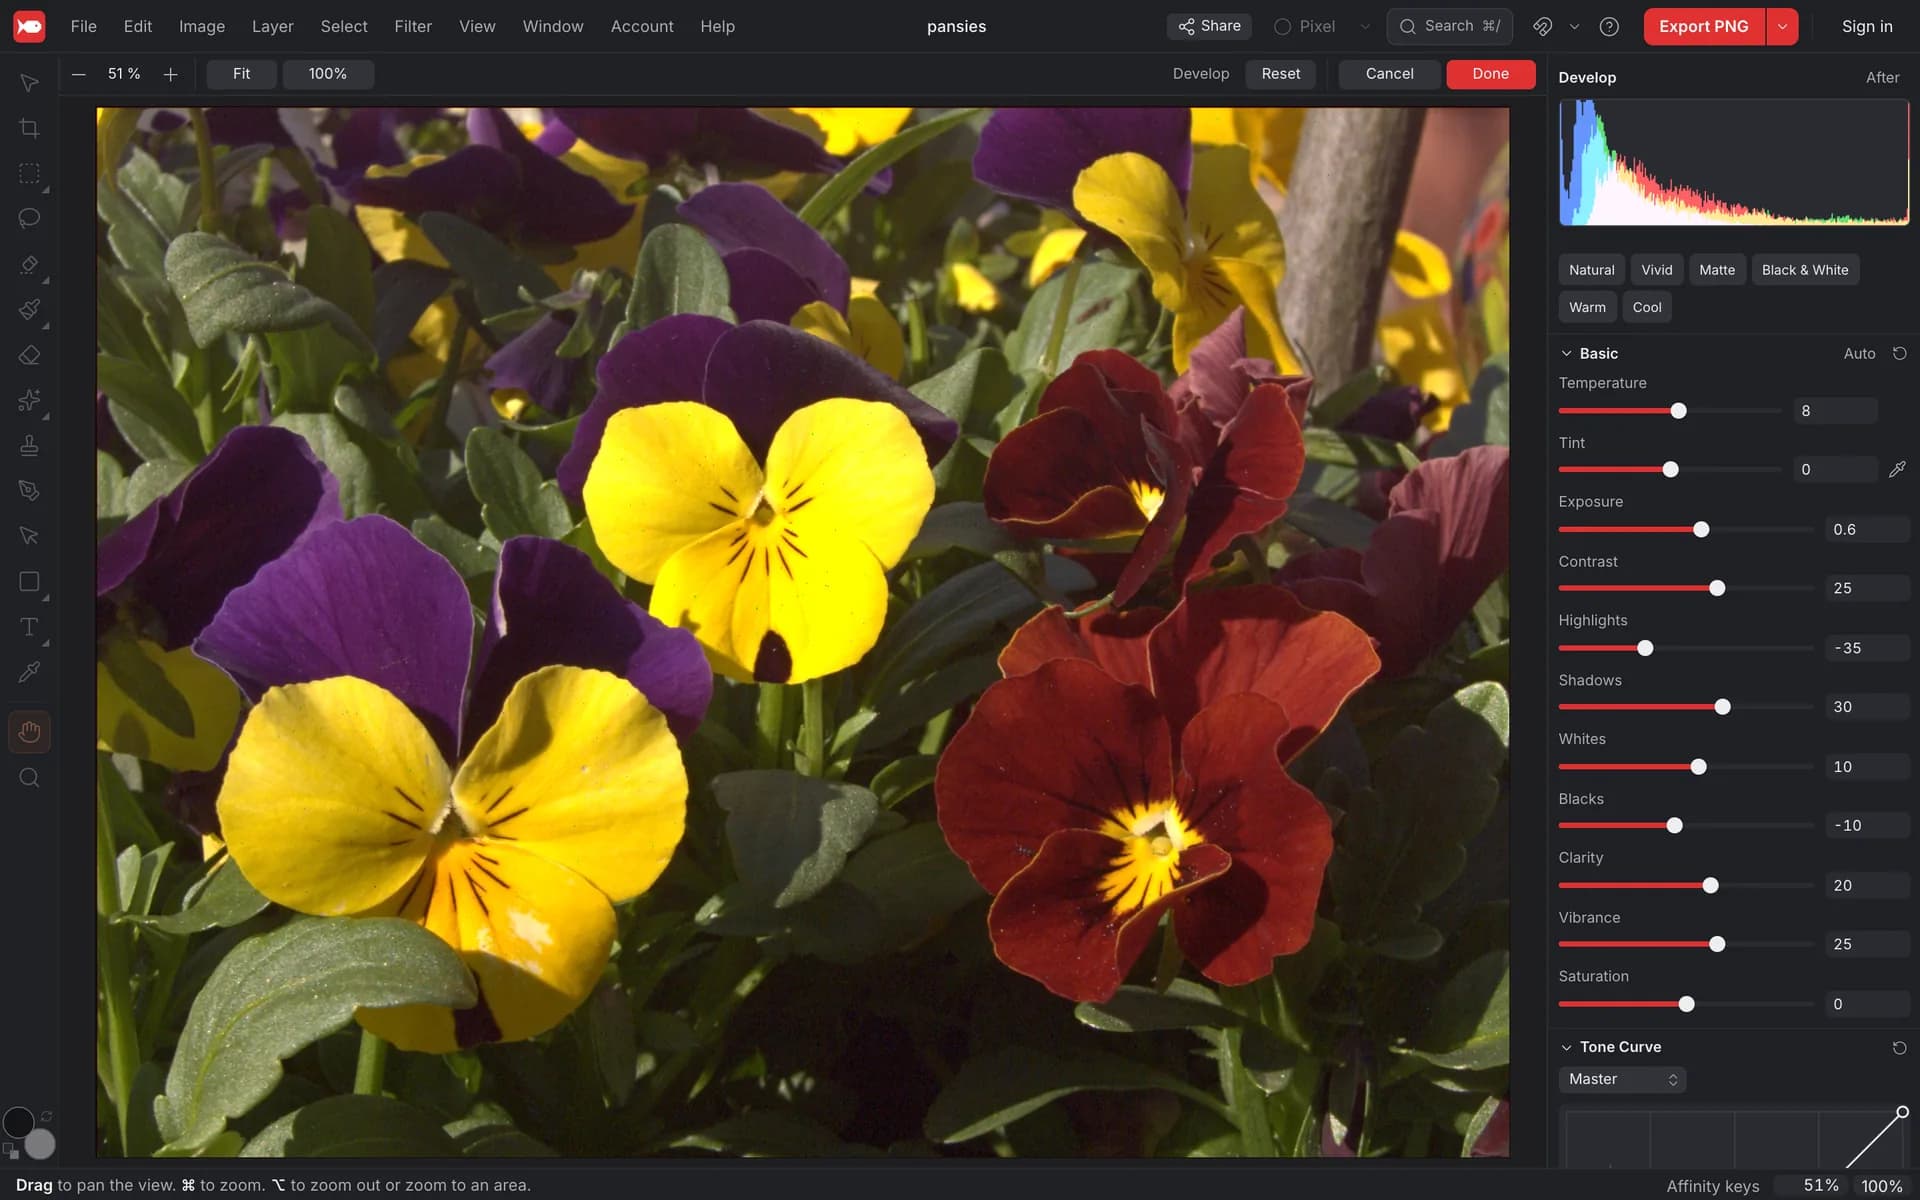
Compare and finish
Press \ (backslash) or click After in the panel to see the photo before your changes. Click Done or press Return to keep them: they become one Develop step in the history. Cancel or Esc leaves the photo as it was.
Develop any photo
Develop isn't only for RAW files. Select a pixel layer and choose Filter ▸ Develop… or press ⇧⌘A (Ctrl+Shift+A), the same chord as Photoshop's Camera Raw Filter. You can also search for "develop".
Your edits stay editable
Done doesn't change the photo's pixels. It adds a Develop layer inside the photo layer in the Layers panel (plus Develop Clarity and Develop Detail when you used them). Double-click it, or choose Filter ▸ Develop… again, to pick up where you left off. Hide it to see the original, or delete it to start over.
Good to know
- Cameras: decoding uses LibRaw, which supports over a thousand cameras. If it can't read the raw data of a camera, koi.photo opens the preview JPEG that's stored inside the file instead (8-bit) and tells you so.
- Colour: RAW files open in sRGB. Very bright highlights the sensor clipped can't be recovered beyond the white point, but Highlights and the Tone Curve can still pull back detail just below it.
- Crop and straighten aren't in Develop yet. After Done, use the Crop tool (C).
- Develop works in every browser koi.photo supports, including ones without WebGPU. A 24-megapixel RAW takes a few seconds to open.
FAQ
Can I edit RAW files online without Lightroom?
Yes. koi.photo opens DNG, CR3, CR2, NEF, ARW, RAF, ORF, RW2 and other RAW formats in your browser for free, with Lightroom-style Basic, Tone Curve, HSL and Detail controls.
Are my RAW files uploaded?
No. The decoder runs on your computer, in the browser. Your photo never leaves your device unless you save it to the cloud yourself.
Can I save my own presets?
Not yet. The built-in presets set the tone and colour sliders, and you can adjust from there.