
Export
Export as PNG, JPEG, WebP, SVG, PDF or PSD, with a live preview, file size estimate, social media presets and Showcase framing.
koi.photo exports images as PNG, JPEG, WebP, SVG, PDF and PSD, right in your browser. You get a live preview with an estimate of the file size, size presets for Instagram and the web, and control over quality, metadata and colour profiles. Showcase frames your image on a soft background, ready to post. It's free, with no watermark.
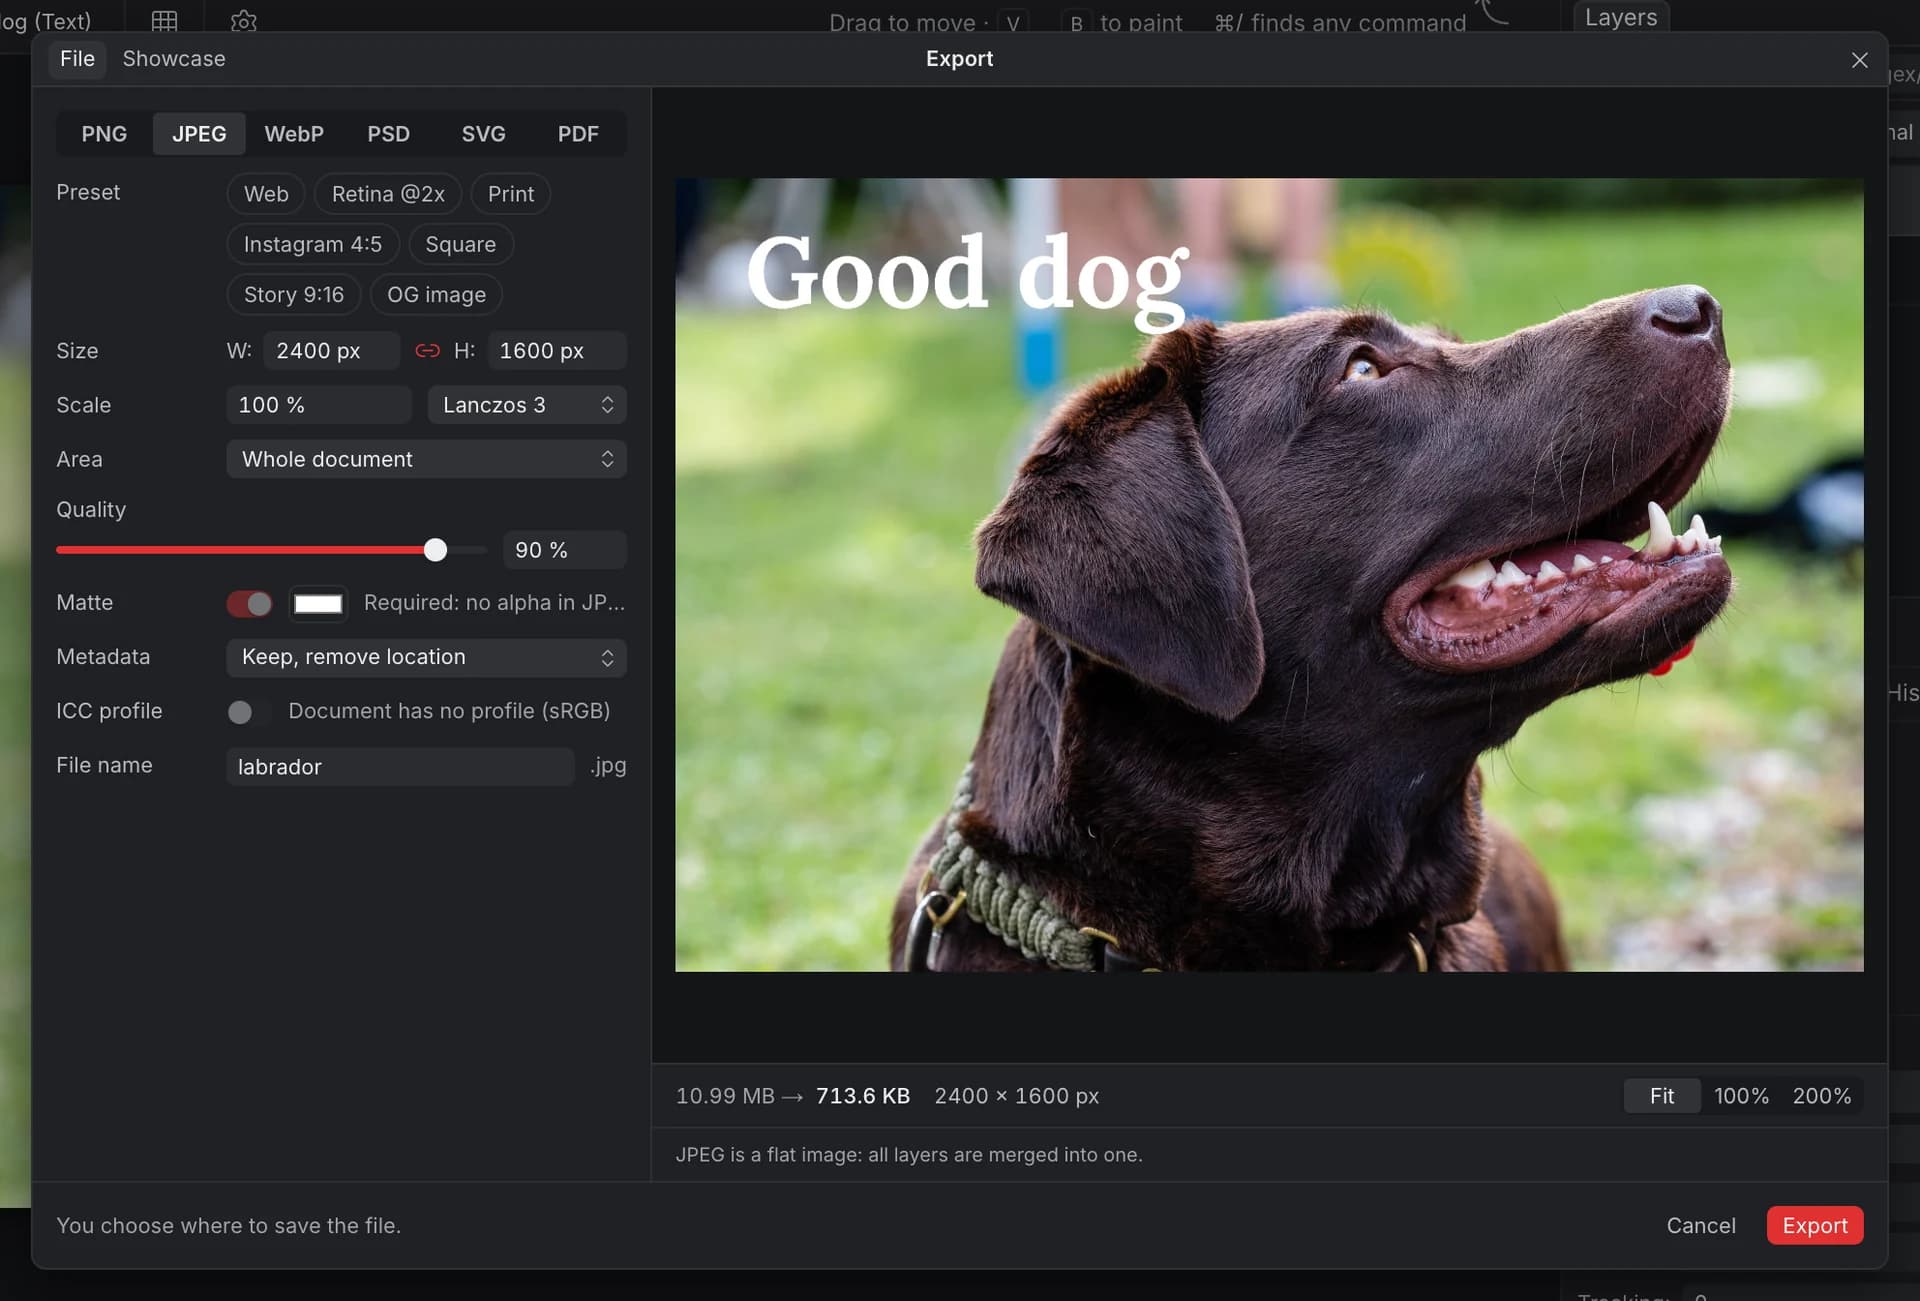
Export an image
Open the Export dialog
Choose File ▸ Export… (⌥⇧⌘W, or Ctrl+Alt+Shift+W). Or use the red Export button in the top bar: its arrow opens a menu where you pick a format.
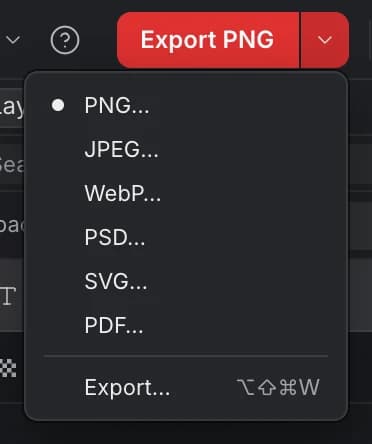
Pick a format and size
Choose the format at the top of the dialog, then set the size. The preview updates as you change things.
Click Export
Depending on your browser, you choose where to save the file, or it goes to your downloads folder.
Once you've exported, clicking the Export button itself (not its arrow) exports again straight away with the last settings, without opening the dialog.
Try it in the editorWhich format should I use?
| Format | Transparency | Stays editable | Best for |
|---|---|---|---|
| PNG | Yes | No, one flat image | Graphics, screenshots, cut-outs with a transparent background |
| JPEG | No | No, one flat image | Photos, when file size matters |
| WebP | Yes | No, one flat image | Photos and graphics for the web; often smaller than JPEG or PNG |
| SVG | Yes | Vectors and text stay vectors | Logos, icons and illustrations |
| Yes | Vectors stay vectors | Print and sharing a single page | |
| PSD | Yes | Layers, masks, adjustments, text | Working on in Photoshop or Affinity |
Transparent areas in a JPEG are filled with a solid colour (the Matte, white by default), because JPEG has no transparency. To keep a transparent background, export PNG or WebP. See Select Subject.
The options
For PNG, JPEG and WebP:
- Size in pixels, with the aspect ratio locked, or Scale in percent (1 to 1000 %).
- Resampling when you change the size: Bilinear, Bicubic or Lanczos 3 (the default).
- Area: Whole document, Selection or Selected layer.
- Quality for JPEG and WebP (default 90 %). WebP also has a Lossless switch.
- 16-bit for PNG, shown when the document is 16-bit: writes 16 bits per channel (on by default). Turn it off for a smaller 8-bit PNG.
- Matte: a background colour behind transparent areas. It's always on for JPEG.
For every format except SVG and PDF:
- Metadata: Keep, remove location (the default; it strips GPS data from EXIF), Keep all or Remove all.
- ICC profile: embed the document's colour profile. If the document has none, it's sRGB.
WebP files don't carry metadata or a colour profile yet; a note in the dialog tells you when something is left out.
Preview: for PNG, JPEG and WebP the right side shows the exported image, its pixel size and the file size before and after compression (for example 3.66 MB → 88 KB). Transparent areas show a checkerboard. Zoom with Fit, 100% and 200% to check sharpness and compression. Notes below the preview tell you what the format changes, for example that layers are merged or transparency is flattened.
16-bit documents
A 16-bit document keeps far finer steps between tones than an 8-bit one, so smooth skies and gradients stay smooth even after strong Curves or Levels. Make one with File ▸ New… (set Bit depth to 16-bit), or convert the open document with Image ▸ Bit Depth ▸ 16 Bits per Channel. 16-bit PNG and PSD files open as 16-bit documents.
When you export a 16-bit document:
- PNG and PSD keep 16 bits per channel.
- JPEG and WebP are always 8-bit. koi.photo adds a very fine, invisible noise when it reduces the image to 8 bits (dithering), so gradients don't turn into visible bands. Image ▸ Bit Depth ▸ 8 Bits per Channel does the same, and you can undo it.
16-bit documents need about twice the memory and storage of 8-bit ones. Layer masks and selections stay 8-bit.
Presets
The Preset chips set the size and format for common uses. You can change any setting afterwards.
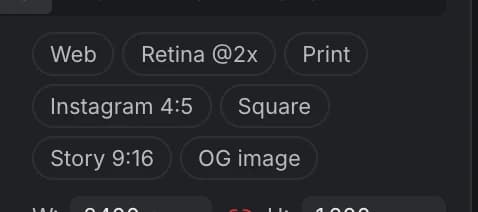
- Web: JPEG at 85 %, 2048 px wide.
- Retina @2x: PNG at 200 %.
- Print: full size, JPEG at 100 %, with all metadata and the colour profile.
- Instagram 4:5 (1080 × 1350), Square (1080 × 1080), Story 9:16 (1080 × 1920) and OG image (1200 × 630, the size of link previews): JPEG at 90 %.
If your image has a different shape than the preset, the dialog says so and offers Crop to crop the canvas to fit. The crop is a normal edit, so you can undo it.
Showcase: frame your image for sharing
The Showcase tab at the top of the Export dialog puts your image on a background with padding, rounded corners and a soft shadow, at a size made for posting. It's a separate render: your document doesn't change.
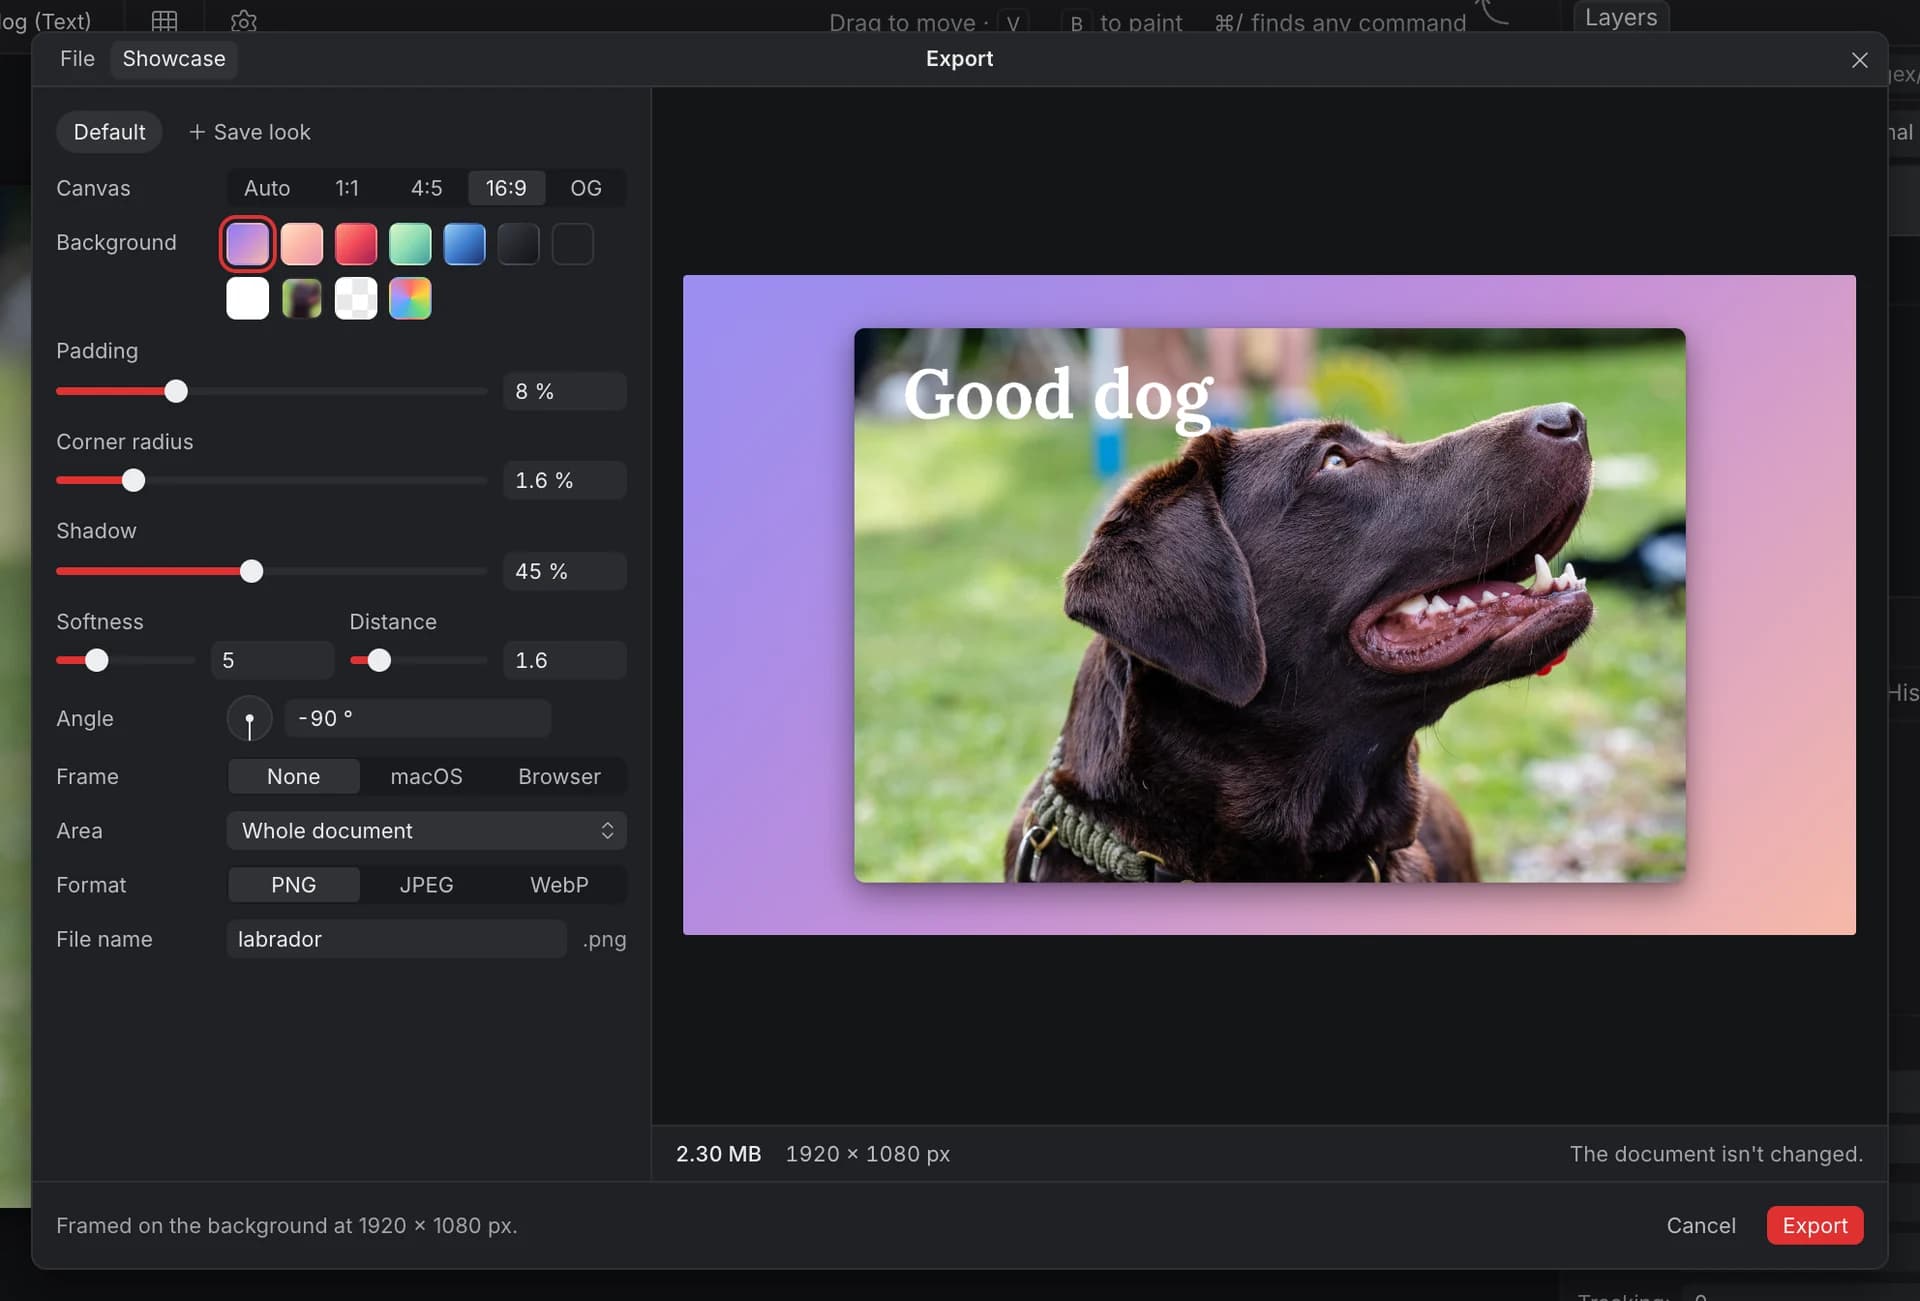
- Canvas: Auto (your image plus the padding), 1:1 (1080 × 1080), 4:5 (1080 × 1350), 16:9 (1920 × 1080, the default) or OG (1200 × 630).
- Background: six soft gradients, graphite, white, your own colour, Ambient (your image's own colours, blurred) or transparent.
- Padding and Corner radius, as a share of the canvas, so a look works at every size.
- Shadow: strength, Softness, Distance and Angle.
- Frame: None, a macOS window or a Browser window, drawn sharp at full size. Good for app screenshots.
- Area: the whole document, the selection or the selected layer.
- Format: PNG, JPEG or WebP.
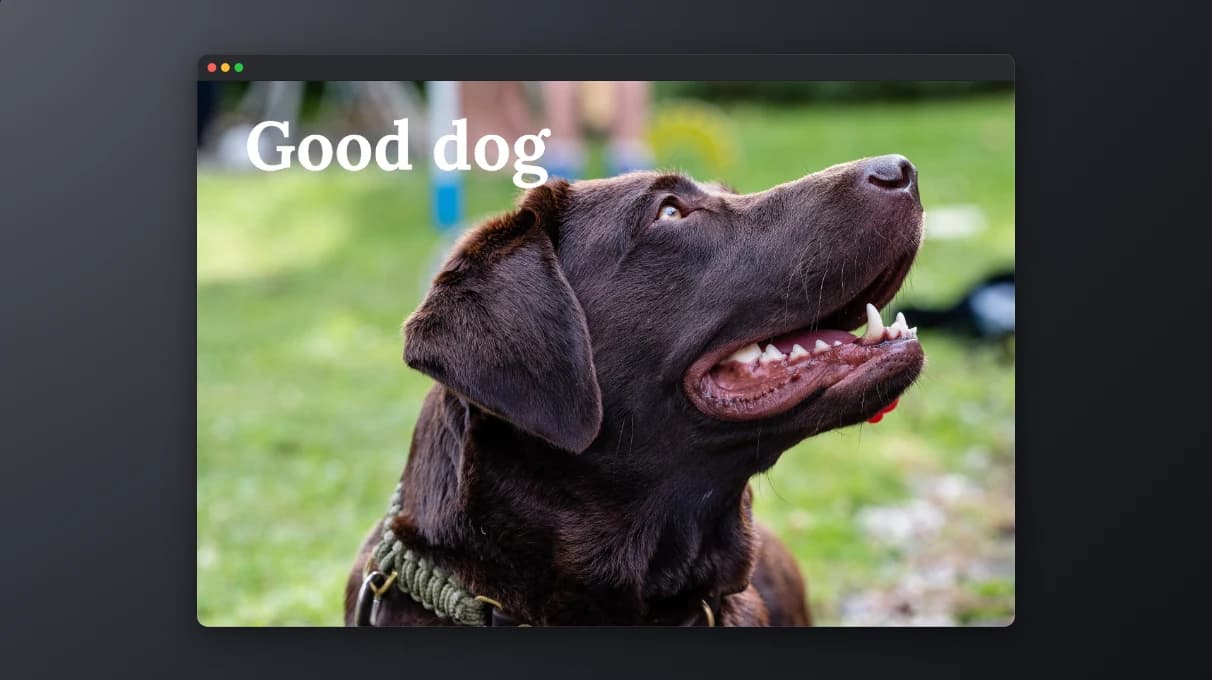
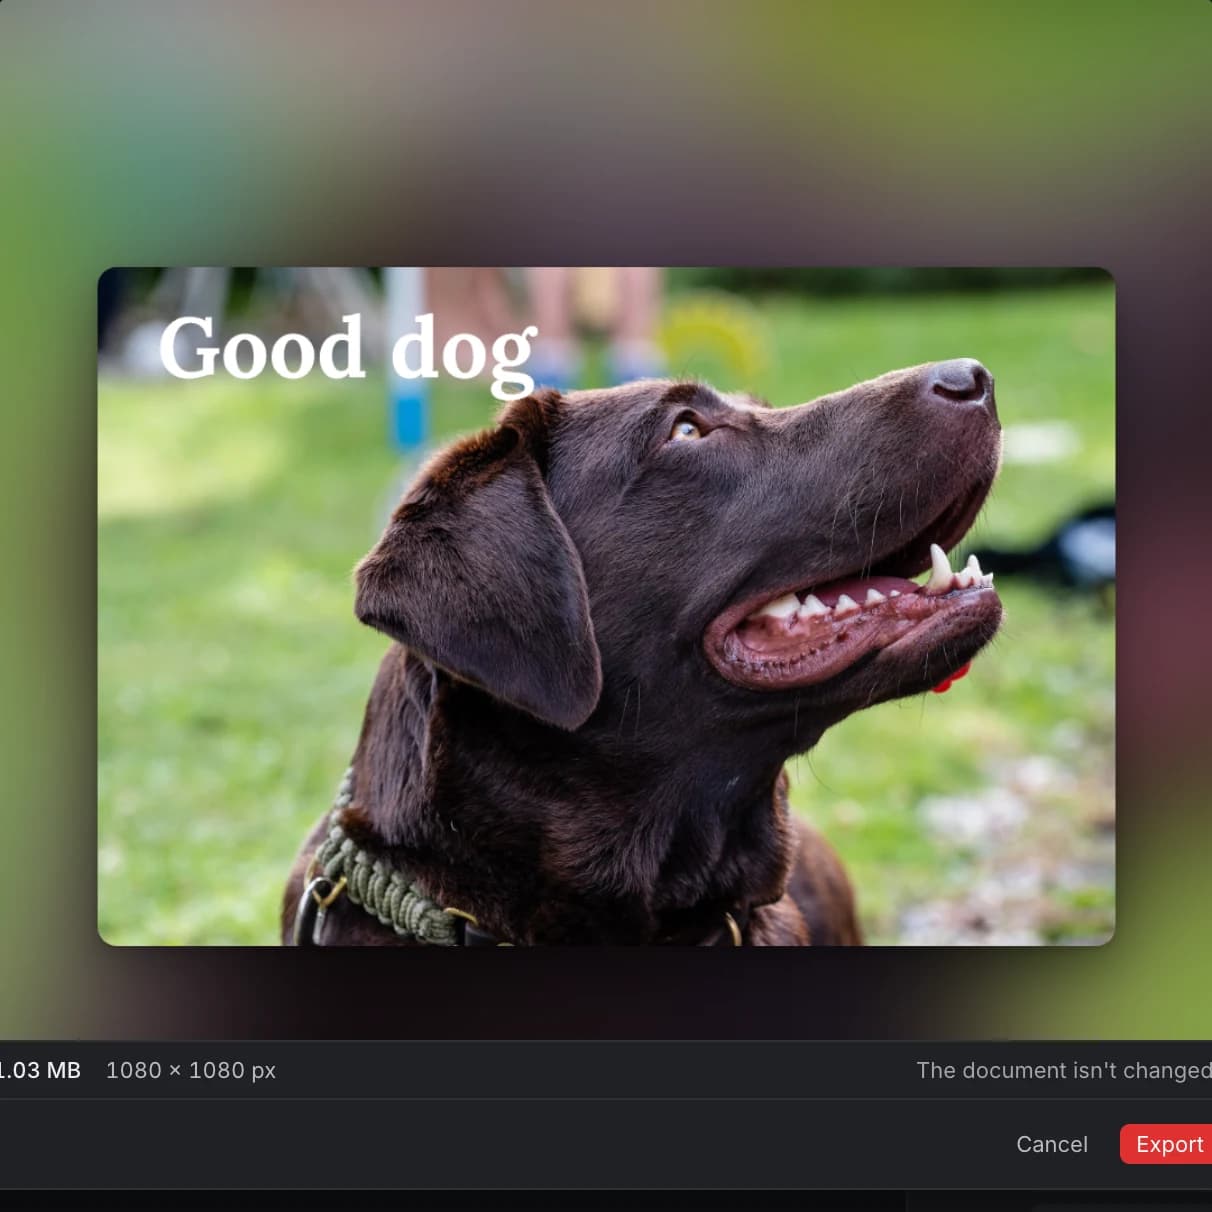
Looks: click Save look and name it to keep the current settings. Saved looks appear as chips at the top of the tab; click one to apply it, or Default to go back. A look gives exactly the same result every time. koi.photo also remembers the last Showcase settings of each document.
SVG and PDF
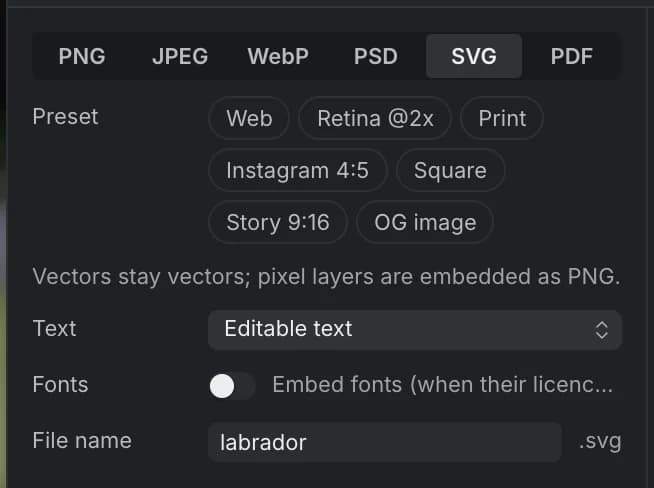
- SVG: vectors stay vectors, and pixel layers are embedded as PNG images. Text can be Editable text (the default) or Outlines. With editable text, turn on Embed fonts so the text looks the same on other computers; fonts whose licence doesn't allow embedding are left out.
- PDF: one page at the document size. Vectors stay vectors, text is converted to outlines (with an invisible layer so it can still be searched), and pixel layers are embedded. There are no other options.
For PSD export and its compatibility report, see PSD files.
Which files can koi.photo open?
| Format | Open | Export |
|---|---|---|
| .koi (koi.photo document) | Yes | Yes (File ▸ Save) |
| PNG (8 and 16 bits per channel) | Yes | Yes |
| JPEG, WebP | Yes | Yes |
| PSD | Yes | Yes |
| SVG | Yes, as editable layers | Yes |
| No | Yes | |
| AVIF, BMP | Yes | No |
| GIF | Yes, the first frame of an animation | No |
| Affinity (.afphoto, .afdesign, .af…) | Basic: pixel layers, or the preview (details) | No |
Can't be opened yet: HEIC/HEIF, camera RAW files, TIFF, JPEG XL, OpenEXR, HDR, PSB, PDF and Adobe Illustrator (.ai) files.
What's not there yet
- No export to AVIF, GIF, TIFF or HEIC.
- No batch export of several files at once.
FAQ
How do I convert an image to WebP? Open it in koi.photo, choose File ▸ Export…, pick WebP and click Export. Use Lossless for graphics, or a quality around 80–90 % for photos.
How do I compress a JPEG? Export as JPEG and lower Quality. Watch the estimated file size and zoom the preview to 100% to see when it starts to look worse. Making the image smaller with Size saves even more.
How do I export a PNG with a transparent background? Pick PNG and leave Matte off. See Select Subject to remove a background first.
Is there a watermark? No. Exports are free and unmarked.
Does exporting change my document? No. Your layers stay as they are; only the exported file is flattened. Showcase doesn't change the document either.
How do I put a screenshot in a nice frame with a background? Open it, choose File ▸ Export…, click Showcase, pick a background and, for app screenshots, the macOS or Browser frame. Then click Export.