
Retouching
Remove objects and blemishes free in your browser with the Remove tool, content-aware fill, Healing and Clone.
Want to remove an object from a photo online, for free? In koi.photo you paint over it with the Remove tool, and the area is rebuilt from the pixels around it. For finer work there's content-aware fill on a selection, a Healing Brush and a Clone Brush (a clone stamp). Everything runs in your browser and nothing is uploaded.
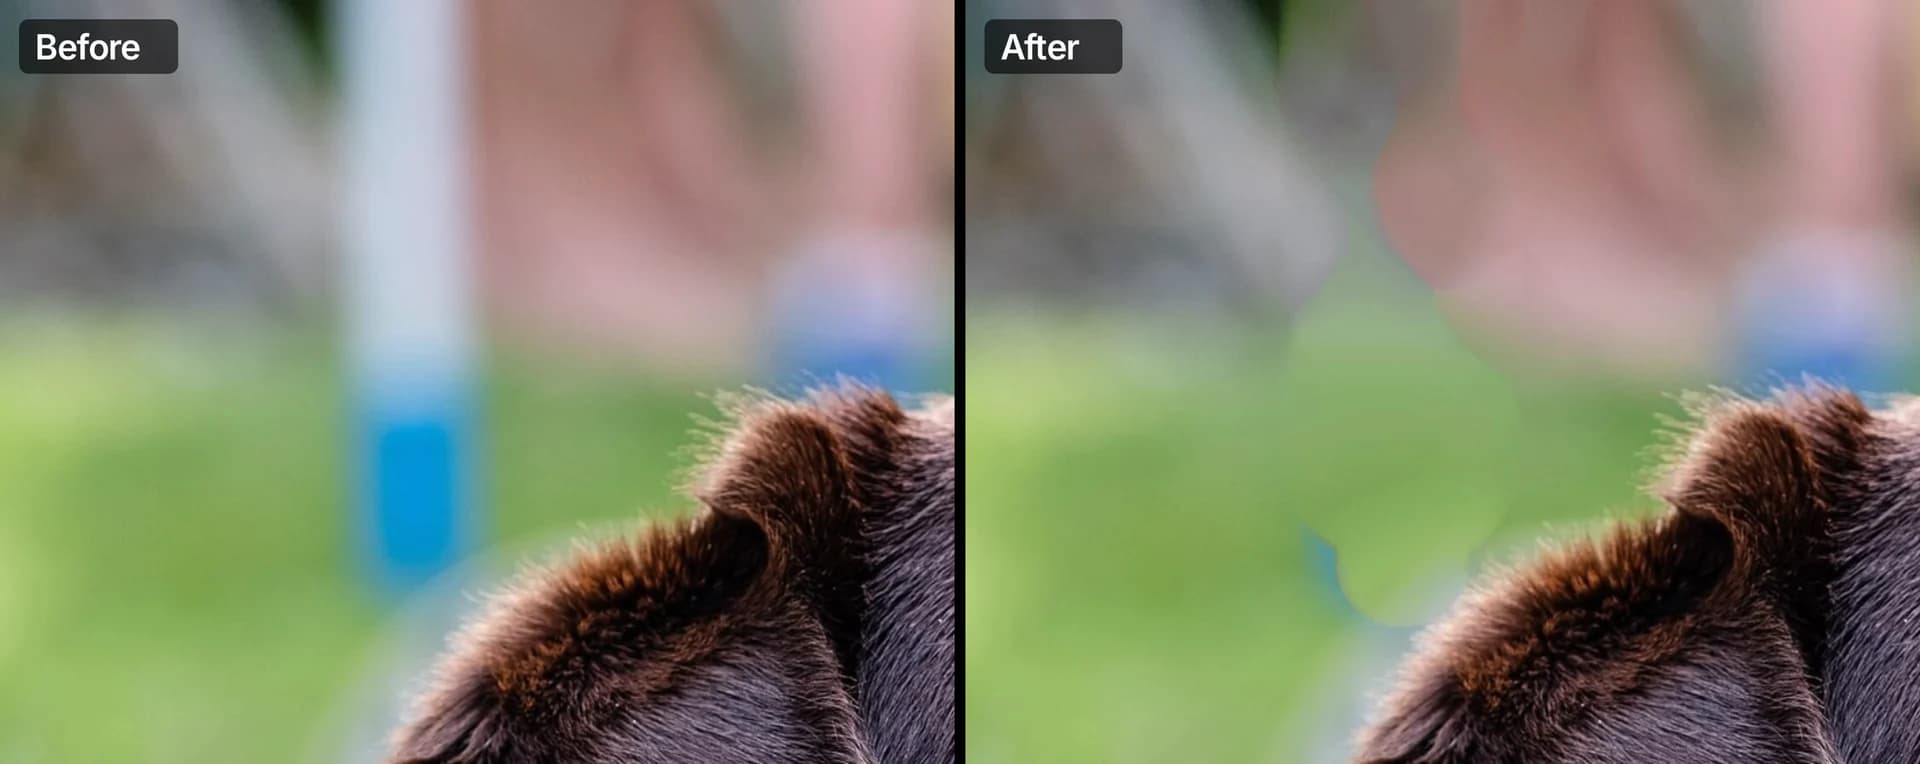
Remove an object from a photo
Open your photo and pick the Remove tool
Drop your photo onto koi.photo and press J (or click the sparkle icon in the tools on the left). The context toolbar at the top shows the tool's options.

Set the brush a little wider than the object
Change Width, or press the bracket keys [ and ] to make the brush smaller or larger. A brush that covers the object plus a small margin gives the cleanest result.
Paint over the object
Drag over everything you want gone. The stroke shows in red while you paint.
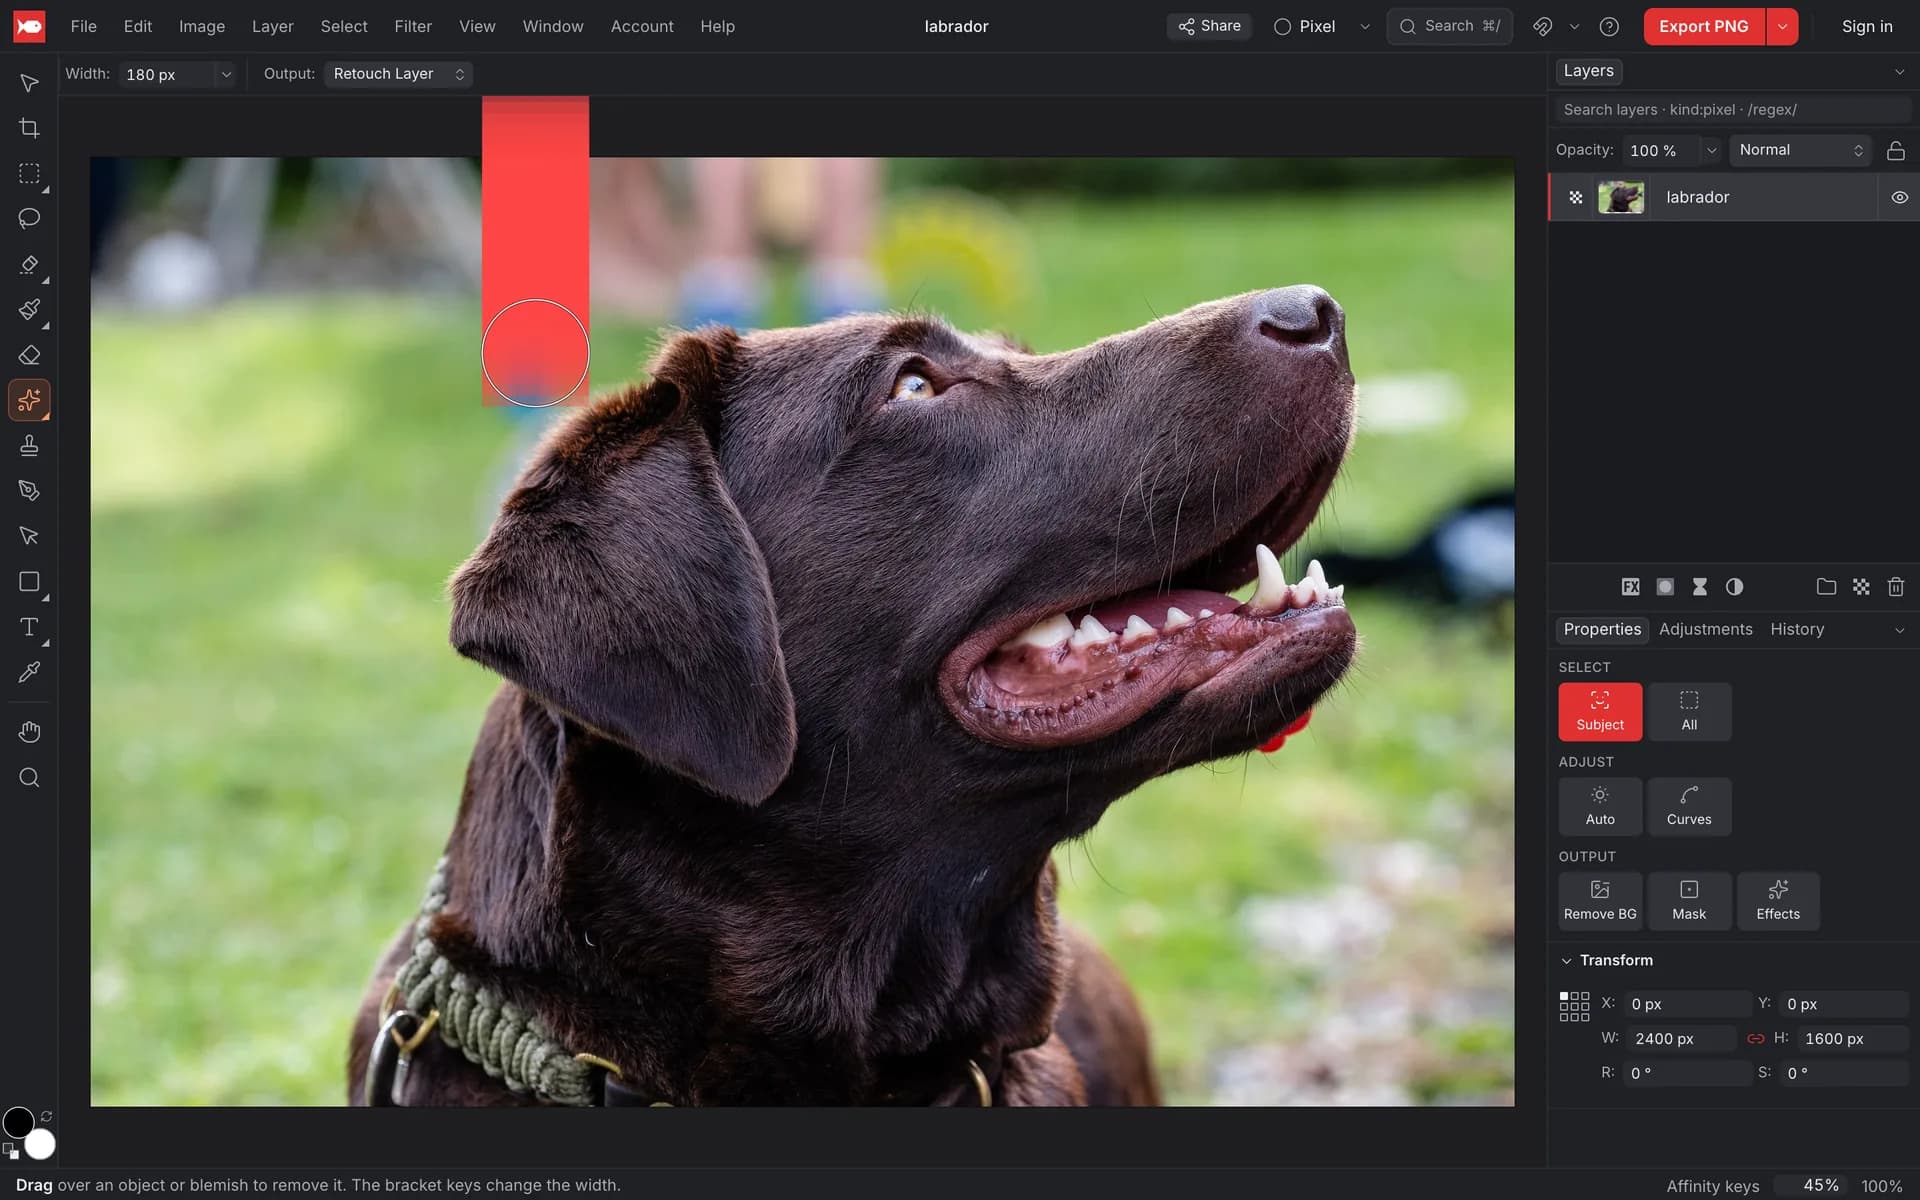
Let go
When you release the mouse, koi.photo fills the painted area from its surroundings. Small spots are done instantly, and a large object takes a second or two. Press Esc while it's working to cancel. Not happy with the result? Undo with ⌘Z (Ctrl+Z) and try again with a different stroke, or paint a second stroke over what's left.
Where the result goes
By default (Output: Retouch Layer) the Remove tool doesn't change your photo. It puts the filled pixels on a new layer called Retouch above it, and later strokes add to the same layer. You can hide the Retouch layer to compare, lower its opacity, or erase parts of it.
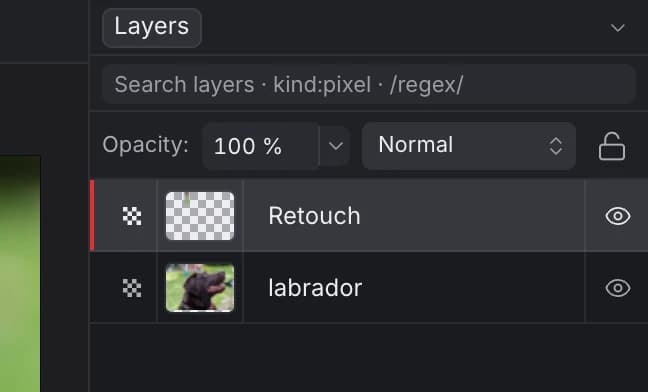
Set Output to Current Layer to paint the fill straight into the selected pixel layer instead. A Sample option then appears, where you choose what the fill is made from: Current Layer, Layer & Below or All Layers.
How it works (and why it's not AI)
With Engine: Local (the default), the Remove tool uses content-aware inpainting. It searches the area around your stroke for patches of similar texture and pieces them together to fill the gap. It runs on your device and needs no model download. It's not generative AI: it can't invent things that aren't in the photo, like the rest of a half-hidden face. It works best on backgrounds with repeating texture (grass, sky, sand, walls, water, blurred bokeh) and less well when a long straight edge or a pattern crosses a big hole.
When generative AI is switched on, the toolbar also offers Engine: Cloud AI: a cloud model removes the object and rebuilds what was behind it. It needs a free account and uses 1 credit per stroke, and the area around your stroke is sent for processing. → Generative AI
Content-aware fill on a selection
If you'd rather select the area first, use content-aware fill:
- Select the object with any selection tool, for example the Rectangular Marquee (M) or the Freehand Selection tool (L). Leave a small margin around it.
- Choose Edit ▸ Fill ▸ Content-Aware (⌥⇧⌫, Alt+Shift+Backspace on Windows). Or click Remove under Output in the Properties panel, which shows whenever you have a selection on a photo layer.
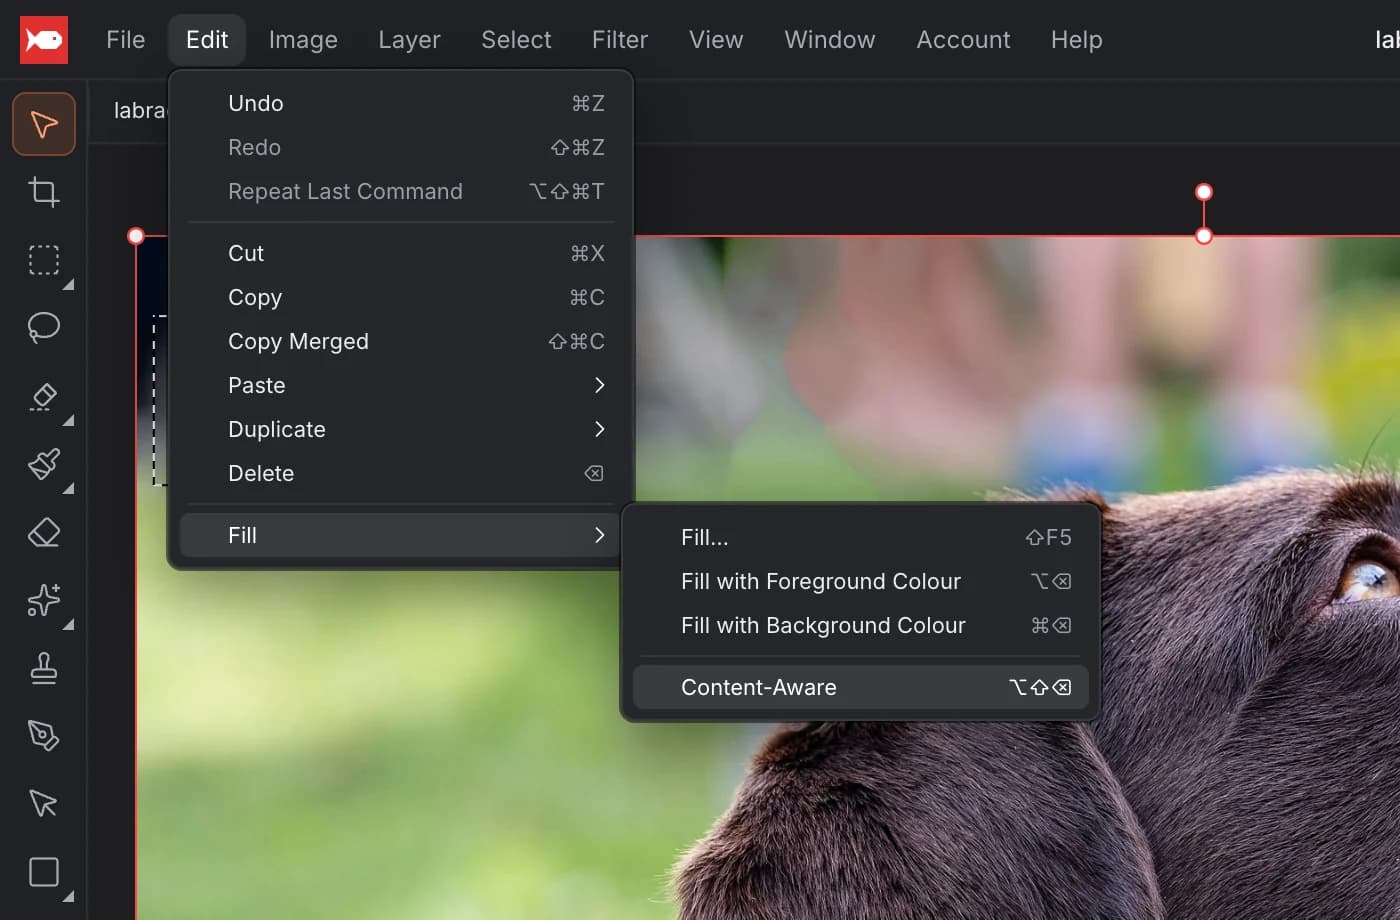
It follows the Remove tool's Output setting, so by default the result goes onto the Retouch layer too.
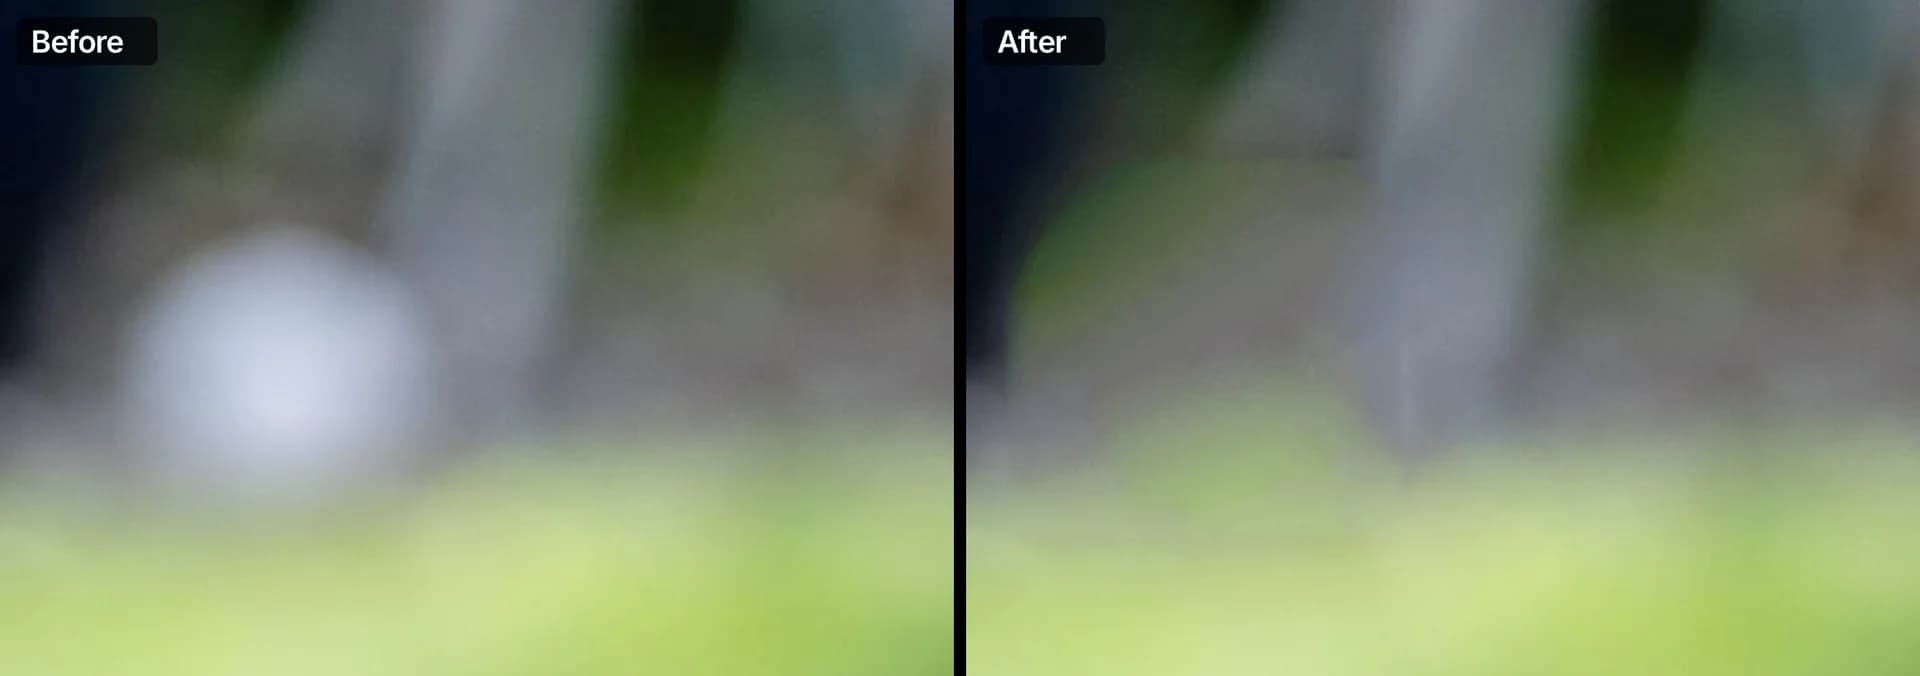
Healing Brush: remove blemishes and spots
The Healing Brush copies texture from one place and blends it into the colour and brightness of the place you paint. That makes it good for spots, dust, small marks and skin blemishes, where a plain copy would leave a visible patch.
- Press J until the Healing Brush is active. J switches between the Remove tool and the Healing Brush.
- ⌥-click (Alt-click) a clean area with similar texture to set the source.
- Paint over the blemish.
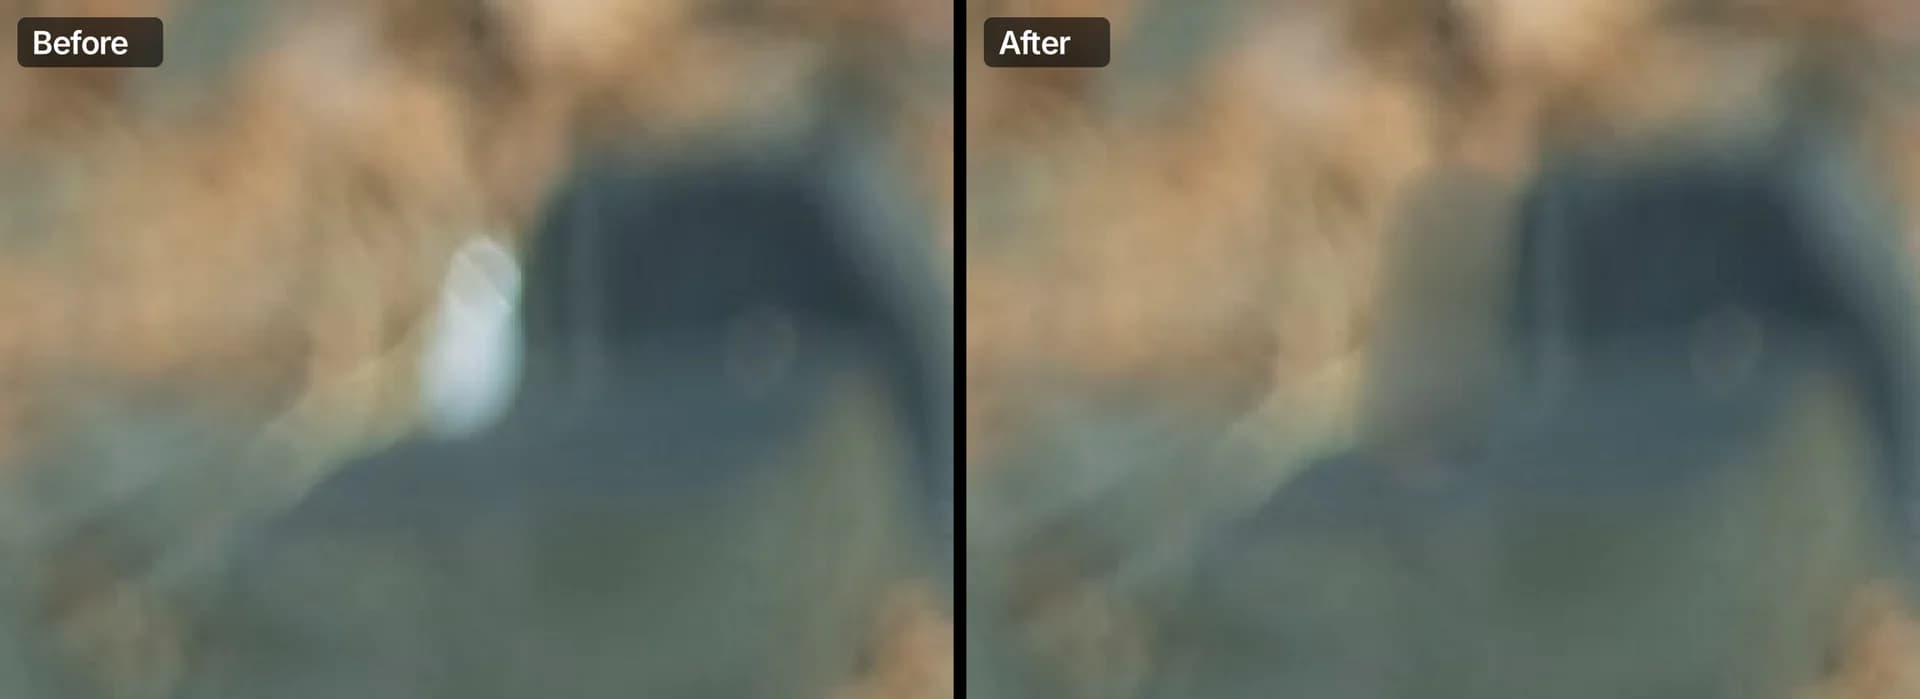
Clone Brush: a clone stamp online
The Clone Brush (S) copies pixels exactly from a source to wherever you paint, like the clone stamp in other editors. Use it when you need a precise copy: extending a pattern, duplicating a detail, or covering something with a specific texture.
- Press S to pick the Clone Brush.
- ⌥-click (Alt-click) the spot to copy from.
- Paint. A crosshair shows where the brush is sampling from.

The Clone and Healing Brushes share these options, next to the usual Width, Opacity, Flow and Hardness:
- Source: what the brush copies from. Current Layer (the default) copies only the selected layer. Layer & Below copies what you see of the selected layer and everything under it. All Layers copies the whole visible image.
- Aligned: when it's on, the source moves along with your brush and keeps the same offset from one stroke to the next. When it's off, every new stroke starts again from the point you ⌥-clicked. Aligned is on by default for the Clone Brush and off for the Healing Brush.
- Add Retouch Layer: adds an empty Retouch layer above the selected layer (or reuses one that's already there), selects it, and sets Source to Layer & Below. From then on you retouch on that layer, and the photo underneath stays untouched.
Retouch on a separate layer
Retouching on its own layer is the non-destructive way to work. You can always see what you changed, and you can undo one fix without undoing the others.
- The Remove tool and content-aware fill do this for you: they write to the Retouch layer by default.
- For the Clone and Healing brushes, click Add Retouch Layer first.
To compare before and after, click the eye icon of the Retouch layer in the Layers panel. To take back one area, use the Erase brush (E) on the Retouch layer.
Limits
We'd rather tell you up front:
- Fill size: content-aware fill and the Remove tool work on areas up to 2048 × 2048 pixels at a time. For a larger area, koi.photo says "Area too large to fill"; remove it in a few smaller strokes instead.
- The local fill isn't generative. It's rebuilt from the photo's own pixels, so it can't add new objects or extend a scene with things that aren't there. For that, use the optional cloud tools: set the Remove tool's Engine to Cloud AI, or use Generative Fill and Expand (free account, credits). → Generative AI
- The Clone Brush can't rotate, scale or flip the source.
- Not built yet: Dodge, Burn and Sponge brushes, a Patch tool, a one-click Blemish Removal tool and a Red Eye tool.
FAQ
Is it really free? Yes. The Remove tool, content-aware fill and the healing and clone brushes are free, with no account and no watermark.
Are my photos uploaded to remove objects? No. The fill is computed in your browser, on your device.
Can I remove a person or a car from a photo? Paint over them like any other object. How good the result looks depends on what's behind them: simple backgrounds such as grass, sky, sand, a wall or water work best. On a busy background with buildings or strong lines, use a few smaller strokes and touch up with the Clone Brush.
Can I undo a removal later? Yes. Use ⌘Z (Ctrl+Z), or, since removals go to the Retouch layer, hide or erase that layer at any time. The original photo is never changed.