
Select Subject
Remove a background or select the subject in one click. The AI runs in your browser, so your photo is never uploaded.
koi.photo can find the main subject of a photo (a person, a pet, a product) and either select it or remove the background around it. It takes one click and costs nothing, and you don't need an account. The AI model runs on your own computer, so your photo is never uploaded anywhere.
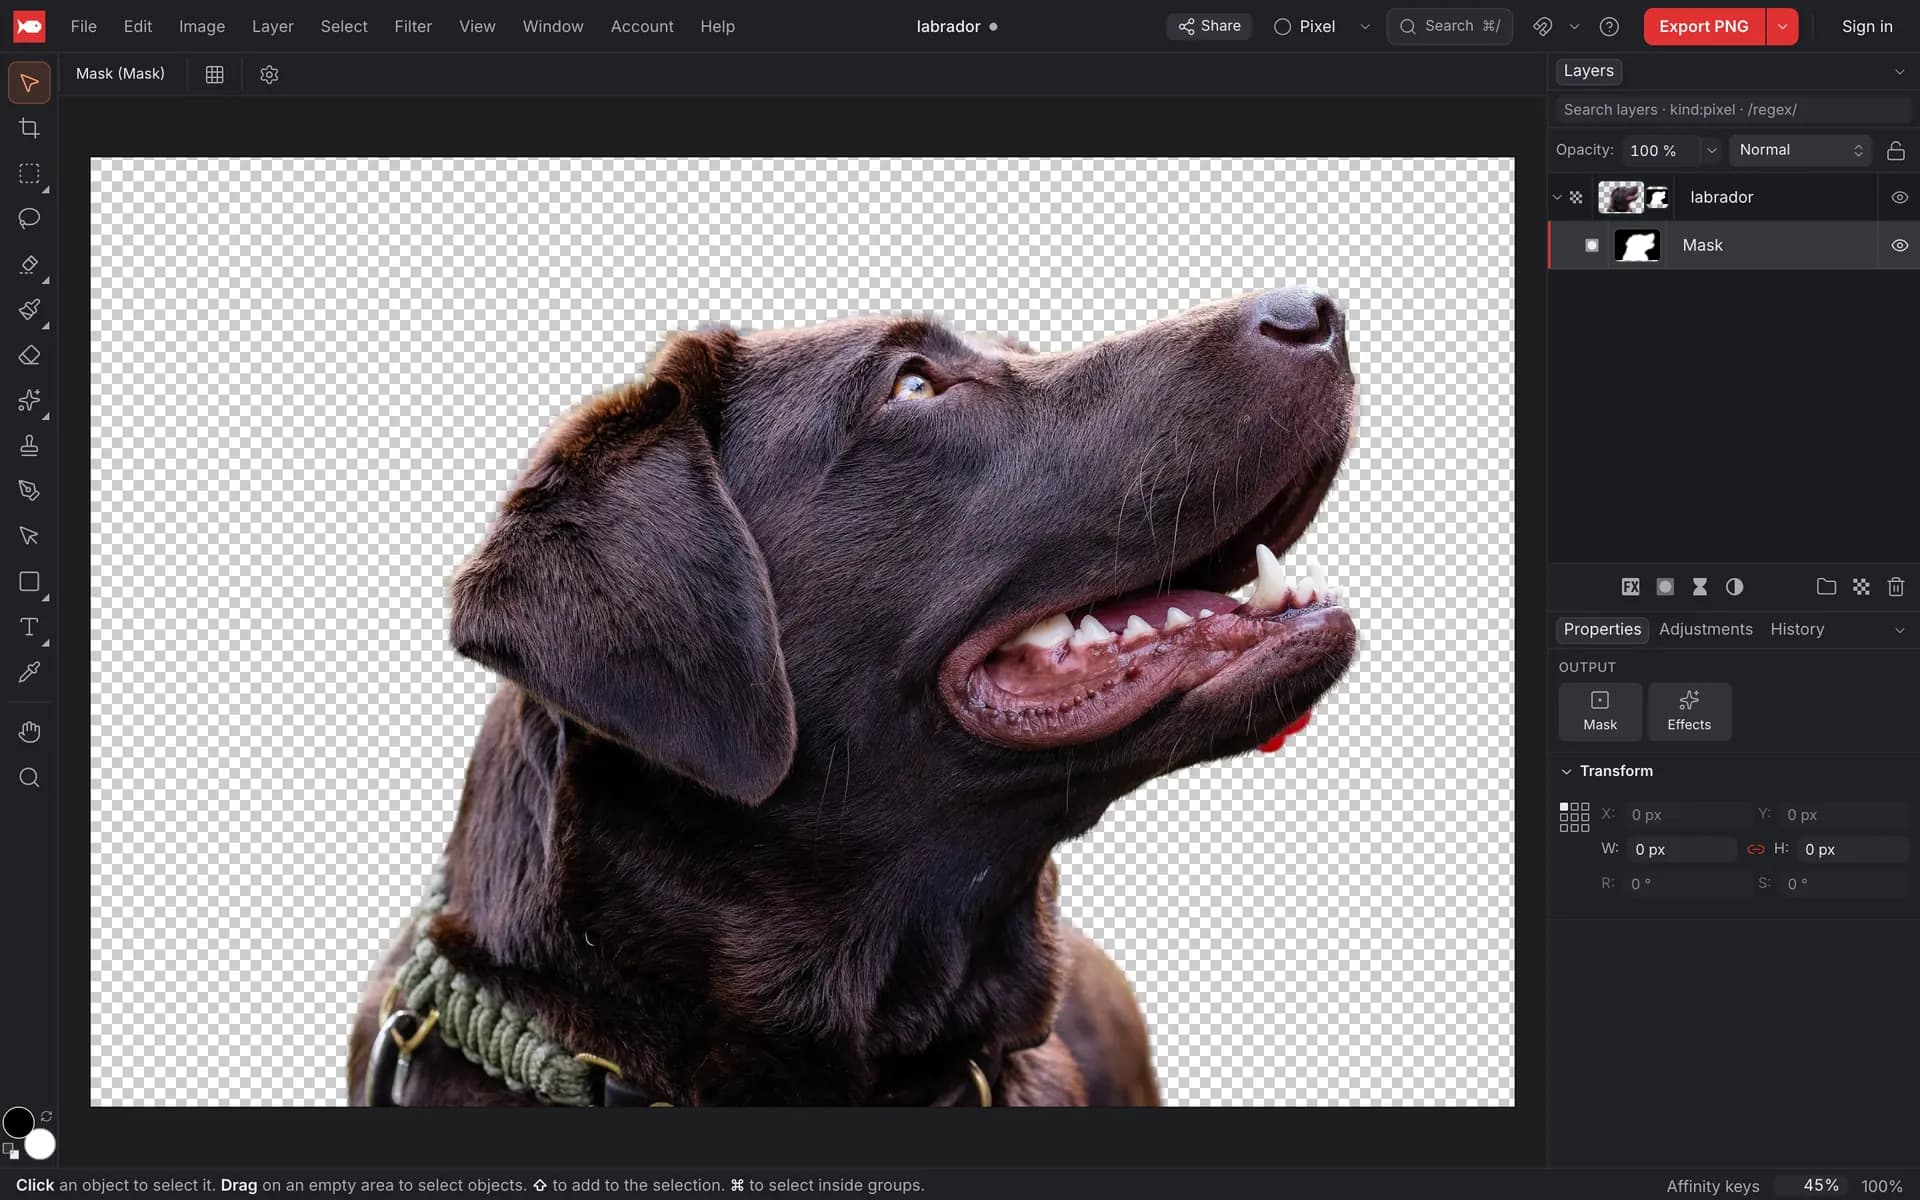
Remove the background from a photo
Open your photo
Go to koi.photo and drop your photo onto the page, or click Open…. JPEG, PNG, WebP, PSD and other common formats work.
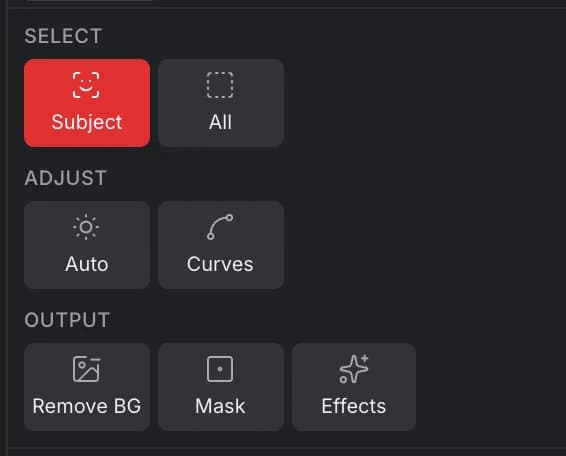
Click Remove BG
Make sure the photo layer is selected in the Layers panel. Then click Remove BG under Output in the Properties panel, or choose Layer ▸ Remove Background from the menu.
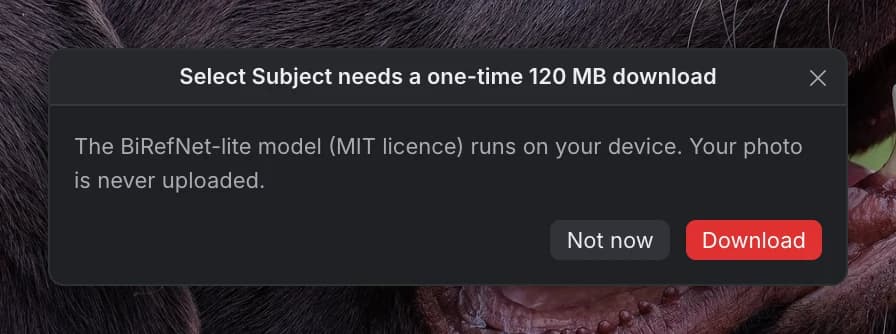
Allow the one-time download
The first time, koi.photo asks before it downloads the AI model (about 120 MB). Click Download. Your browser keeps the model, so you only wait once.
Export as a transparent PNG
A second or two later the background is gone. Choose File ▸ Export…, pick PNG (or WebP) and save. Both keep the transparency. JPEG has no transparency, so the background would be filled with a solid colour.
Select the subject instead
Sometimes you don't want the background gone; you want to edit the subject or the background on its own. For example, you might brighten only the person or blur only the background.
Choose Select ▸ Subject, or click Subject under Select in the Properties panel. You get a soft, anti-aliased selection around the subject, and every tool, adjustment and filter you use next only affects the selected area.
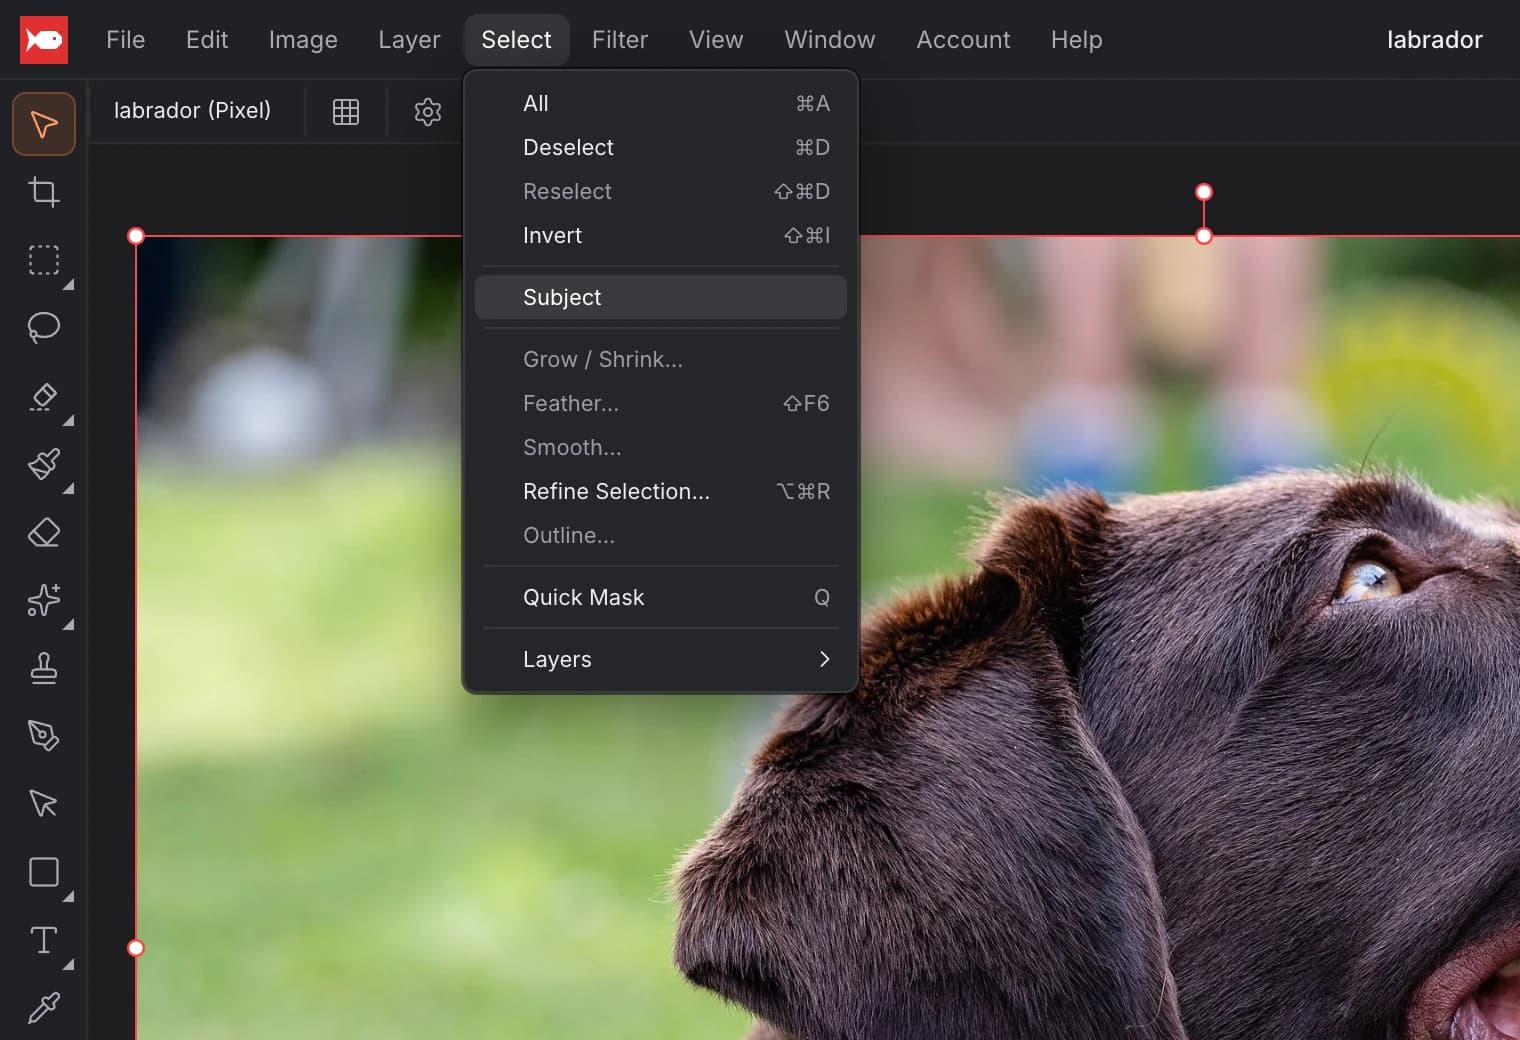
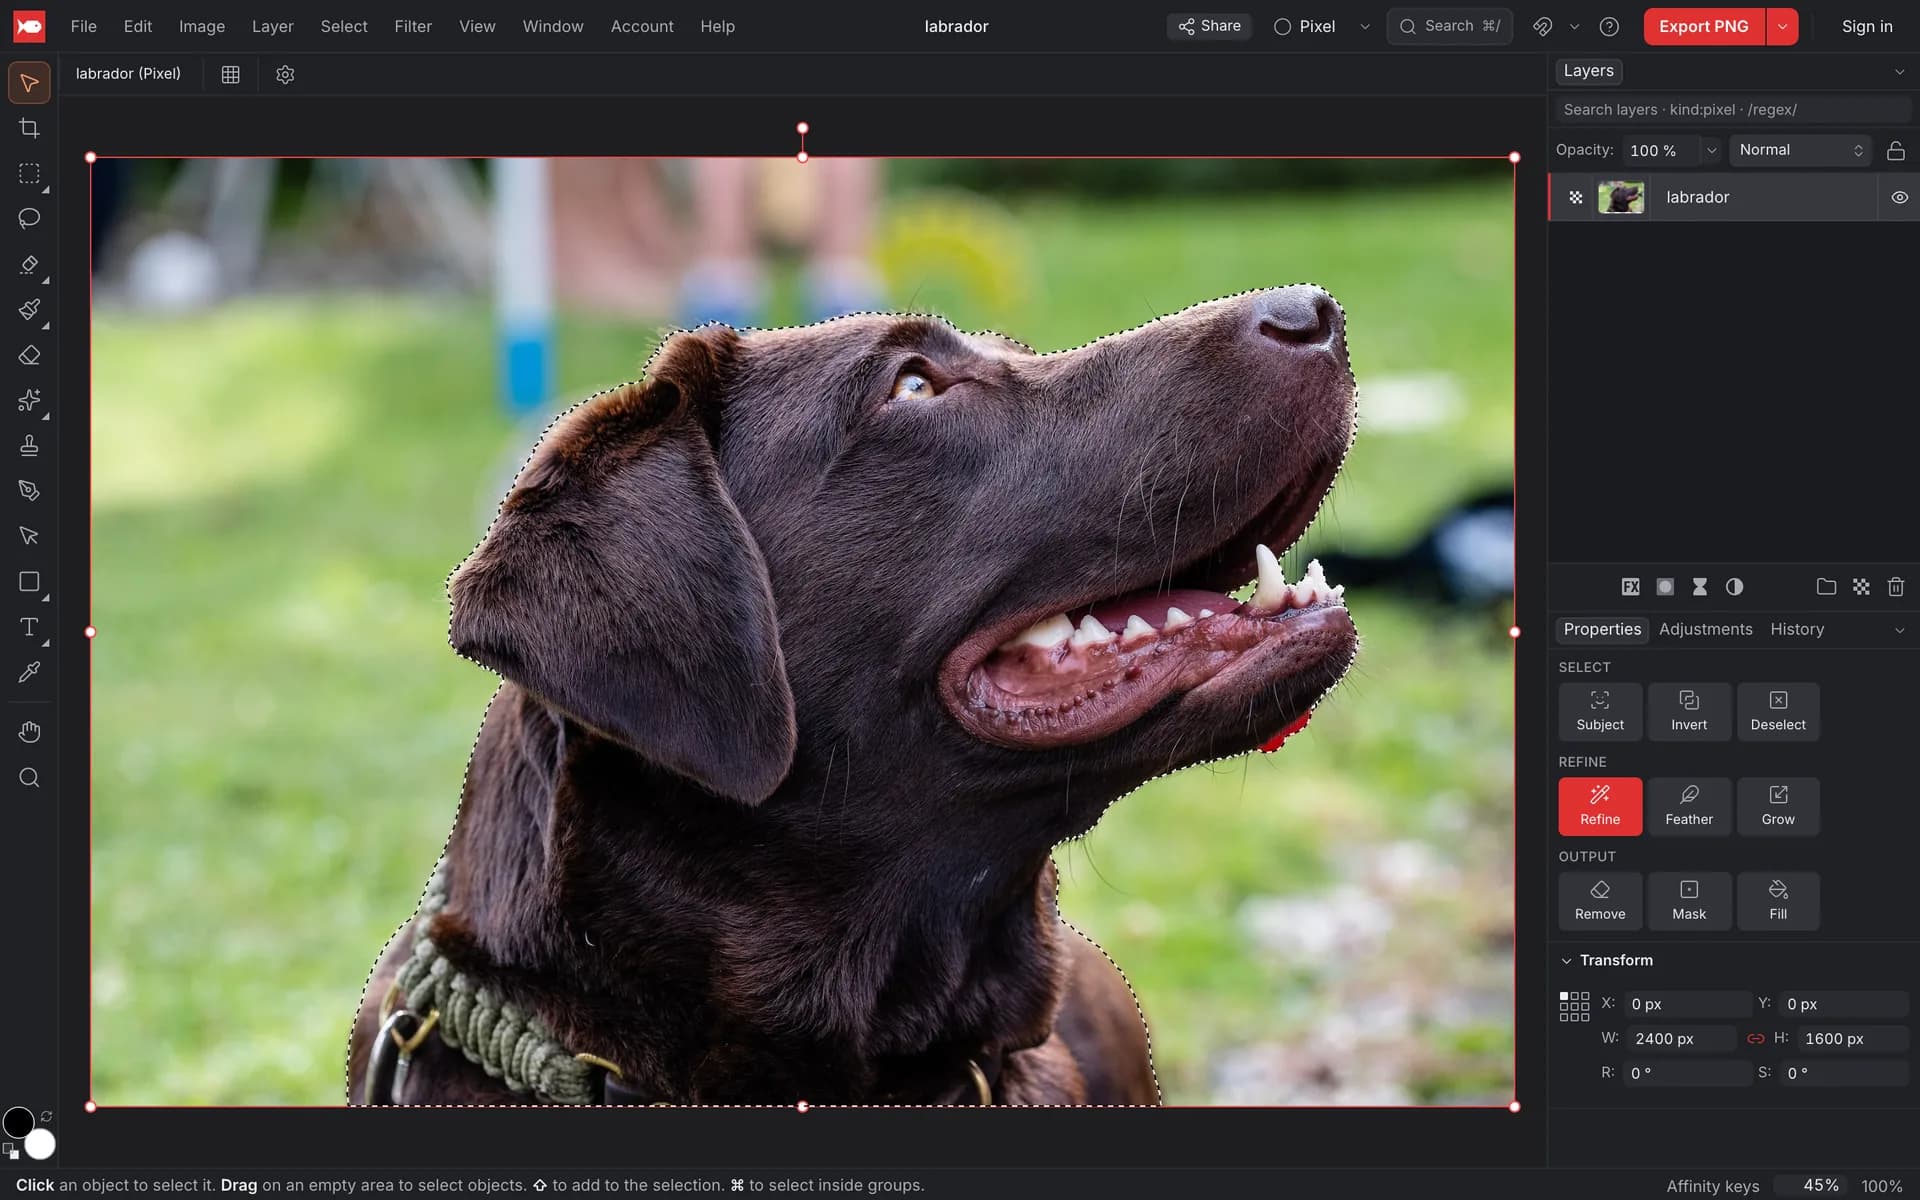
A few things you can do with the selection:
- Select ▸ Invert (⇧⌘I, or Ctrl+Shift+I on Windows) selects the background instead.
- Refine (or Select ▸ Refine Selection…) smooths, feathers or shifts the edge.
- Mask turns the selection into a layer mask, like Remove Background does.
- Remove fills the selected area from its surroundings (content-aware fill).
Why nothing is lost
Remove Background doesn't delete pixels. It adds a layer mask to your photo, and the mask hides the background. That means you can:
- Undo it with ⌘Z (Ctrl+Z).
- Fix the edges by hand: select the mask in the Layers panel and paint on it. Black hides, white reveals.
- Turn it off to see the whole photo again.
koi.photo also cleans up the colours along soft edges such as hair and fur. Without this, a thin halo of the old background would show around the subject once you put it on a new background. This is the one change to the photo's own pixels: only the colour of the soft edge changes, and it's part of the same undo step as the mask.
What to do next
After Remove Background, the photo stays selected and Quick actions shows a Cutout group with the usual next steps:
- Background adds a white layer under the cut-out (an ordinary rectangle: change its colour in the Properties panel, or delete it).
- Refine Edge loads the mask as a selection and opens Refine Selection with Output set to Mask. When you apply, the refined mask replaces the old one.
- PNG opens Export with PNG picked, which keeps the transparency.
The mask is called Subject mask in the Layers panel, so you can tell it apart from masks you painted yourself.
Put your subject on a new background
Click Background in Quick actions for a plain colour. For a photo, drop a second image onto the canvas: it becomes a new layer. Drag it below your photo in the Layers panel, and the cut-out subject sits on top of the new background.
Which AI model is used, and is it private?
Everything runs in your browser. koi.photo downloads the model once from Hugging Face, checks that the file hasn't been changed, and caches it in your browser. After that, your photo never leaves your device: there's no server-side processing, no upload and no account.
Which model you get depends on your browser:
| Your browser | Model | One-time download | Best for |
|---|---|---|---|
| Supports WebGPU with 16-bit float shaders (recent Chrome and Edge, for example) | BiRefNet-lite (MIT licence) | about 120 MB | People, pets and objects, with fine detail like hair |
| No WebGPU, or WebGPU without 16-bit float shaders | MODNet (Apache-2.0 licence) | about 19 MB | Portraits of people; fine hair comes out softer |
Both models use permissive open-source licences. On a recent laptop with WebGPU, the subject is found in about a second once the model has loaded.
Tips for the best result
- A clear subject works best. One person, animal or product that stands out from the background gives the cleanest edge.
- Pick the right layer. Select Subject and Remove Background work on the selected photo (pixel) layer. Remove BG only shows on a photo layer that doesn't have a mask yet.
- Busy backgrounds: if part of the background is kept, paint over it in black on the mask. If part of the subject is cut off, paint over it in white.
FAQ
Is it really free? Yes. Select Subject and Remove Background are free, with no limits and no account.
Is this generative AI? No. These models only find the subject; they don't create pixels, and nothing is uploaded. koi.photo's generative tools (Generative Fill, Expand, AI Remove) are separate, optional cloud features that need a free account and use credits. → Generative AI
Does it work offline? Once the model has been downloaded, the AI itself runs offline. The editor still needs to load from koi.photo, though.
Can I remove the background from a PSD layer? Yes. Open the PSD, select the pixel layer and click Remove BG. See PSD files.
Why does it ask to download again? Browsers sometimes clear stored data to free up space. If the cached model is gone, koi.photo asks again before it downloads anything.